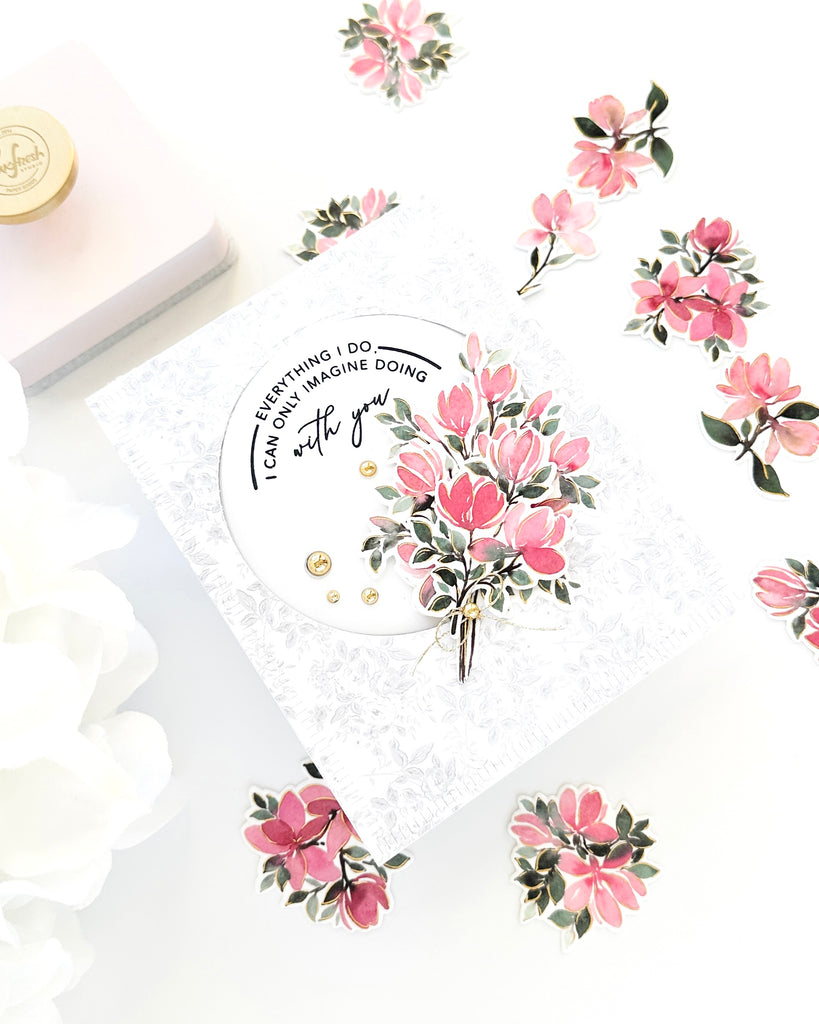
DIY Interactive A2 Card | Cheryl Espie
Hi crafty friends
Welcome back to the Pinkfresh Studio card blog.
Today, I am sharing a DIY interactive A2 Card that was totally inspired by Jennifer Maguire in one of her a recent live videos. I loved the idea so much, that I contacted her to ask if I could use her idea to make a card. She said 'sure!'....Yay!

There's a few different steps for this design and I filmed the process because that is the best way to see this card come together. The reel will be available on Instagram @pinkfreshstudio so keep an eye out for it.
You begin by making your own interactive element which is basically a piece of quality cardstock cut 1 1/2" x 4" scored at 1", 2" and 3". Then you bend at the score marks.

For this top folding card, I added some Pinkfresh Studio paper to the front. This just added some subtle interest.
Using the Nested Circles Dies, I cut through the the front of the card approximately 2" from the top fold. I then attached the DIY interactive element with double sided sticky tape to the the card itself.

After stamping that wonderful sentiment from the Around the Shape Circle Stamp Set, I cut out the circle with the coordinating die and attached this circle to the front panel attached to the element.
I then cut out some gorgeous elements from the Artistic Magnolia Washi Tape. These are sooooo pretty. I attached a number of these flowers around my card, inside and out!

To finish, I added some Gold Pearls to highlight the gold in the washi tape.
Pink and gold always looks to good together, don't you think?
Such an interesting design. I liked that when you opened the card, it still has a bunch of flowers inside the card itself.
Remember to look for the reel on Instagram @ Pinkfresh Studio because it will help to see it, especially if you want to try this yourself.
Well, that's all from me today friends.
Until next time...
Cheryl


1 comment
What a fun but also stunningly pretty card! I love interactive cards. They take card making to the next level. Ps. Love that washi tape.