Spiral binding Mini Album with Happy Blooms collection | Susi Becerra
Hello everyone! It's Susi here today sharing my very first project using the gorgeous Happy Blooms collection which soon you will be able to find on the Pinkfresh shop. I decided to use this collection to create a spring mini album. I don't know about you guys, but spring is probably my favorite season. I love summer too and this collection is perfect to document both seasons.
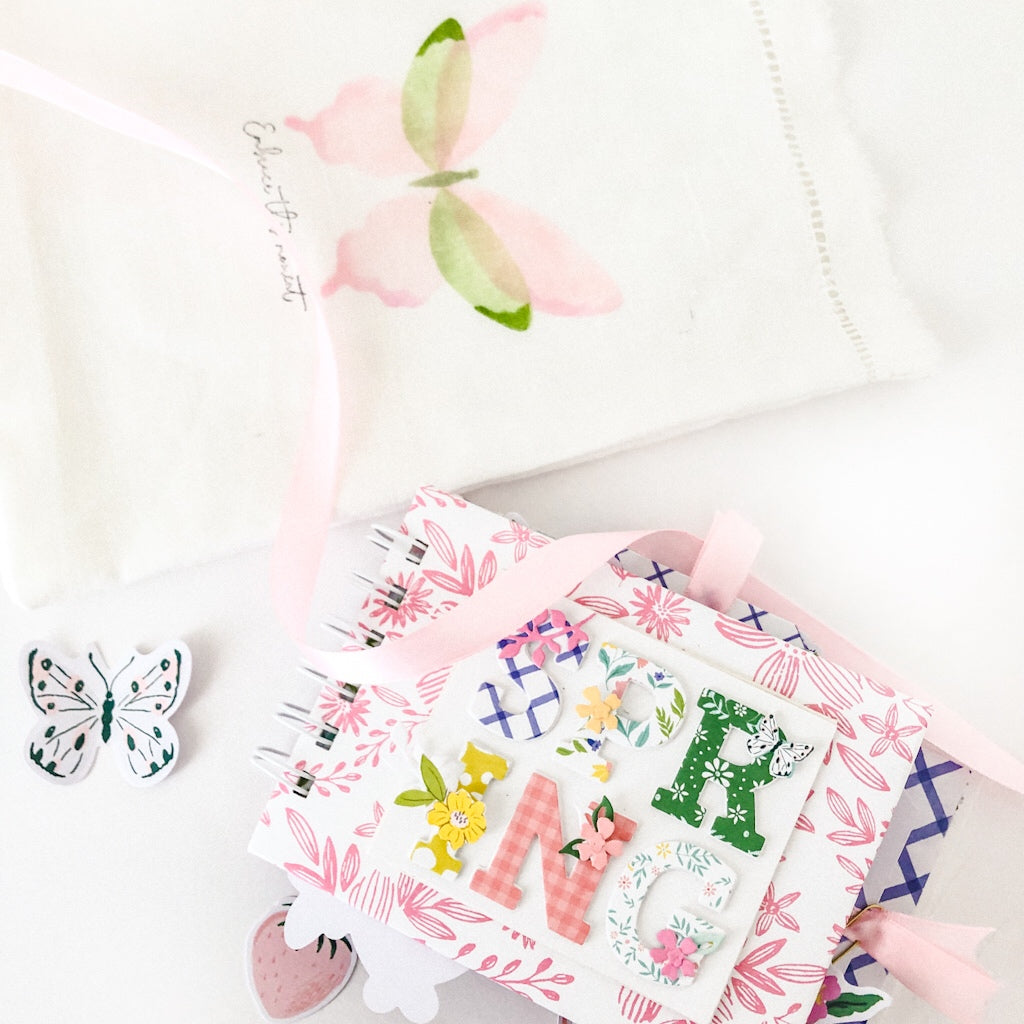
I started by cutting chipboard to 4 x 5 inches for the cover and to 4 x 6 inches for the back cover. I wanted to cover the mini book with my favorite patterned paper from the collection called "Embroidered". I cut it to 5 x 6 inches and covered the outside of my album with it. After that I cut white cardstock to 5 x 7 inches to cover the back. I used the B-side of the patterned paper to covered the inside of the front and the inside of the back of the mini.
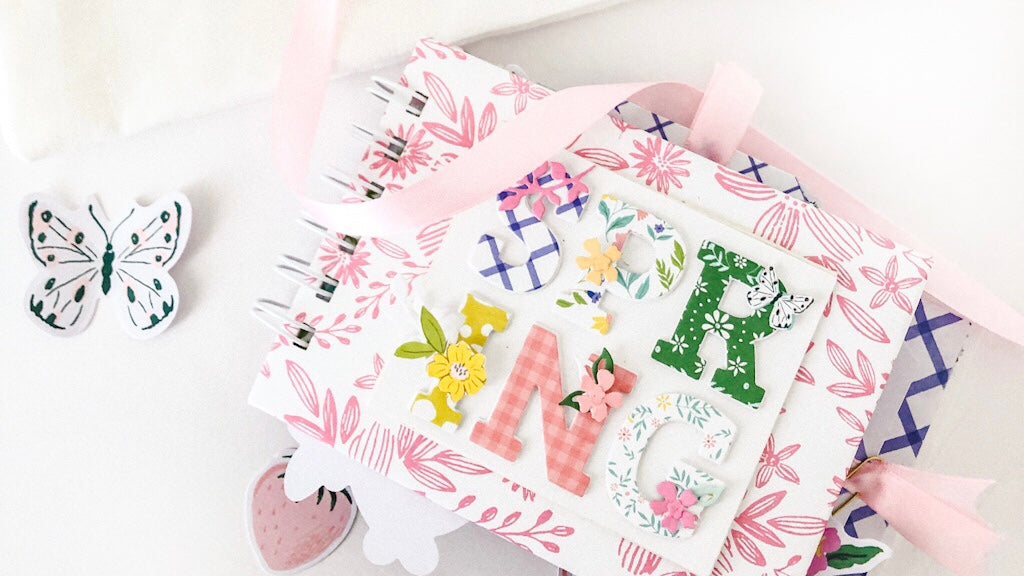
To decorate the cover I die cut the word spring using the Adore Alpha Die Set. I die cut four times each letter using white cardstock and glued them together. I die cut one more time each letter using different papers from the collection. Then I glued all the letters on a white 4 x 4 inches cardstock

Next, I made 6 pages/inserts for this mini album.
1. To make the first page I used an element from Journaling Bits. I only added the cute pear from the Ephemera Pack. On the back I glued another Journaling bit and decorated it with the beautiful butterfly. If you don't know I'll tell you that I love the butterflies.

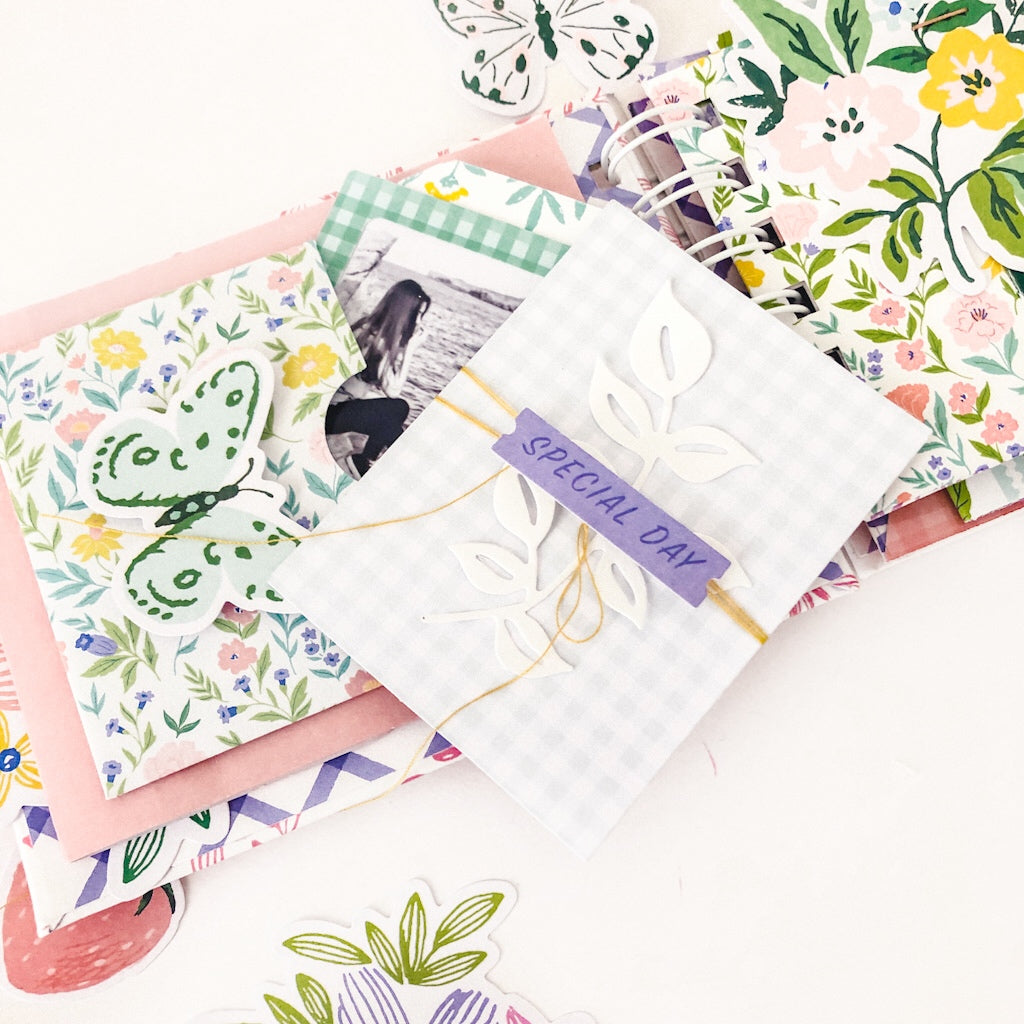
2. Page two: I trimmed down a piece of "Happy Place" paper to 4 x 11 inches and folded it in half to create a pocket. I added a photo with elements from floral ephemera pack to embellished it. Next, I used the Butterflies Layering Stencil Set and Butterflies die to create the butterfly. I die cut a photo and glued it on back.
I used the following ink cubes: Slumber, Lavender, Ballet Slipper and Sparkling Rose.

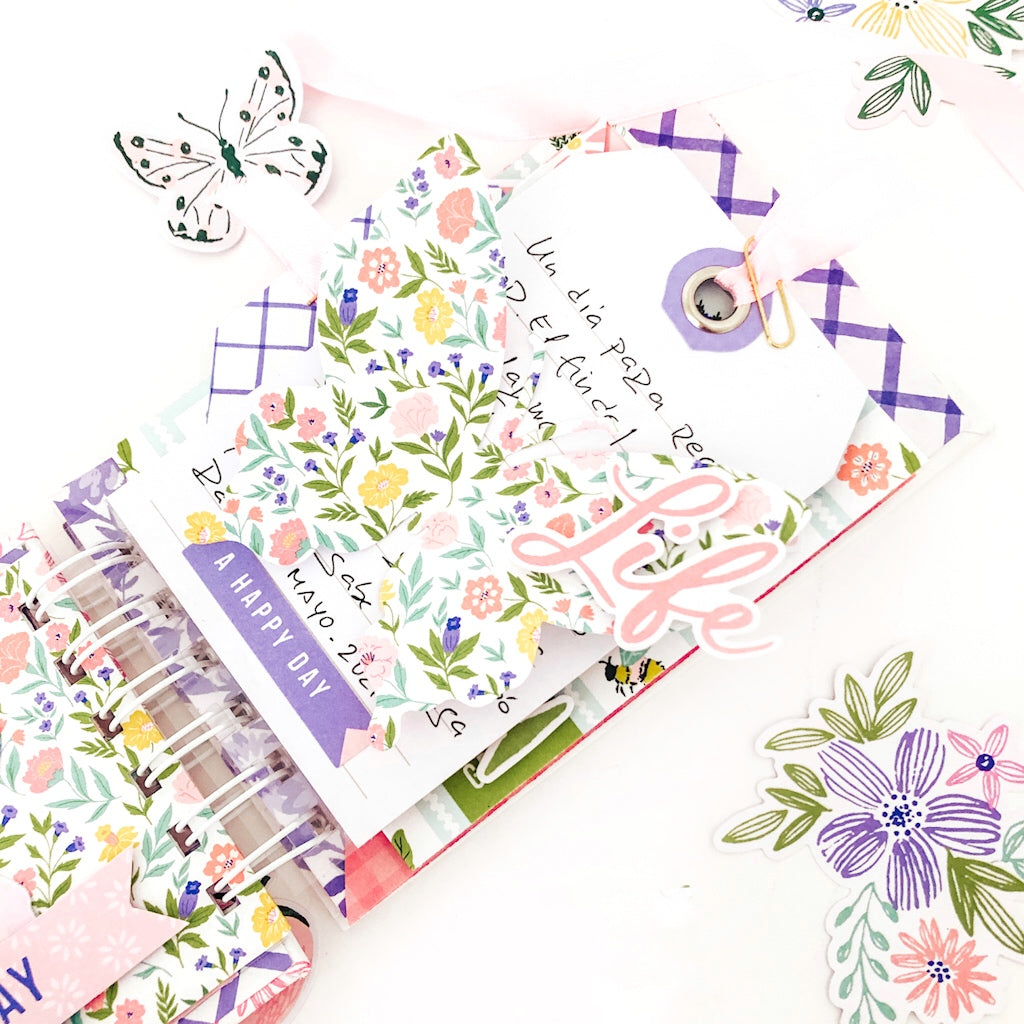
3- The next page is another journaling bit. I die cut a butterfly and wrote my journaling. On the back I used the new Lots of Love Die Set. It's simply gorgeous!

4. Page four: I created a false enveloped using the Cottage patterned paper. I added cardstock stickers to embellish it. I created flaps using the cards from the ¨Homegrown" patterned paper.


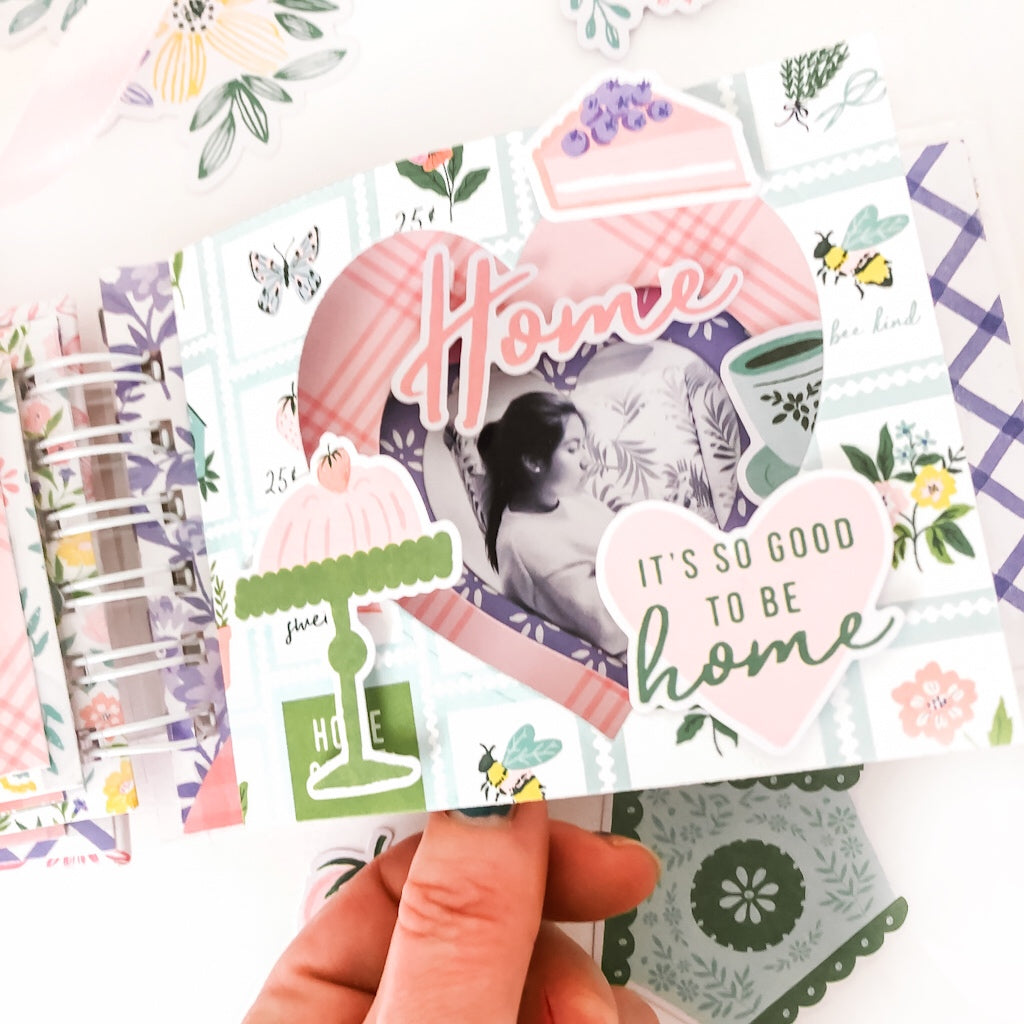
5- Page five: I trimmed down a piece from ¨Garden¨paper to 4 x 10 inches. I folded it in half and die cut a heart. Then, I cut another piece to 4 x 5 iinches from the B-side of ¨Cottage¨patterned paper and die cut an smaller heart. Then, I attached it with a tab. Finally I die cut my photo using a smaller heart die. I love the effect created. I embellished the page using elements from Ephemera Pack.
6- Finally, I trimmed down a piece of ¨Daydream¨patterned paper and I made a pocket.

I wanted to use my Zutter Bind-it-all machine so I trimmed down hinges from acetate sheet and then I attached the pages 1,3,4 and 5 to the hinges. I used a white 3/4¨ binding wires to attached them.
I decided to make a cute packaging so I created a fabric bag. I used the gorgeous ¨Butterflies layered stencil set" to embellished it. I used Grassy knoll, Key Lime, Ballet Slipper and Sparkling Rose ink cubes. I stamped the sentiment "Embrace this moment" from Butterflies Stamp Set. I think it is a very nice way to wrap a gift.

I hope you like it! Thanks for the visit and have a great day! I'm sure you check all the Happy Blooms collection on the blog.


6 Comments
how much does cialis cost in nz cialis dosing cialis grossesse
doubling cialis dose cialis price in canada online rx for cialis
cialis uk nhs cialis questions cialis value proposition
cialis no me hizo nada cialis price uk cialis kuuri
cialis uk gp buy cialis in mexico cialis bulk powder
cialis otc uk brand cialis no prescription medicamente potenta cialis