Scrapbook Inspiration | Erica Thompson
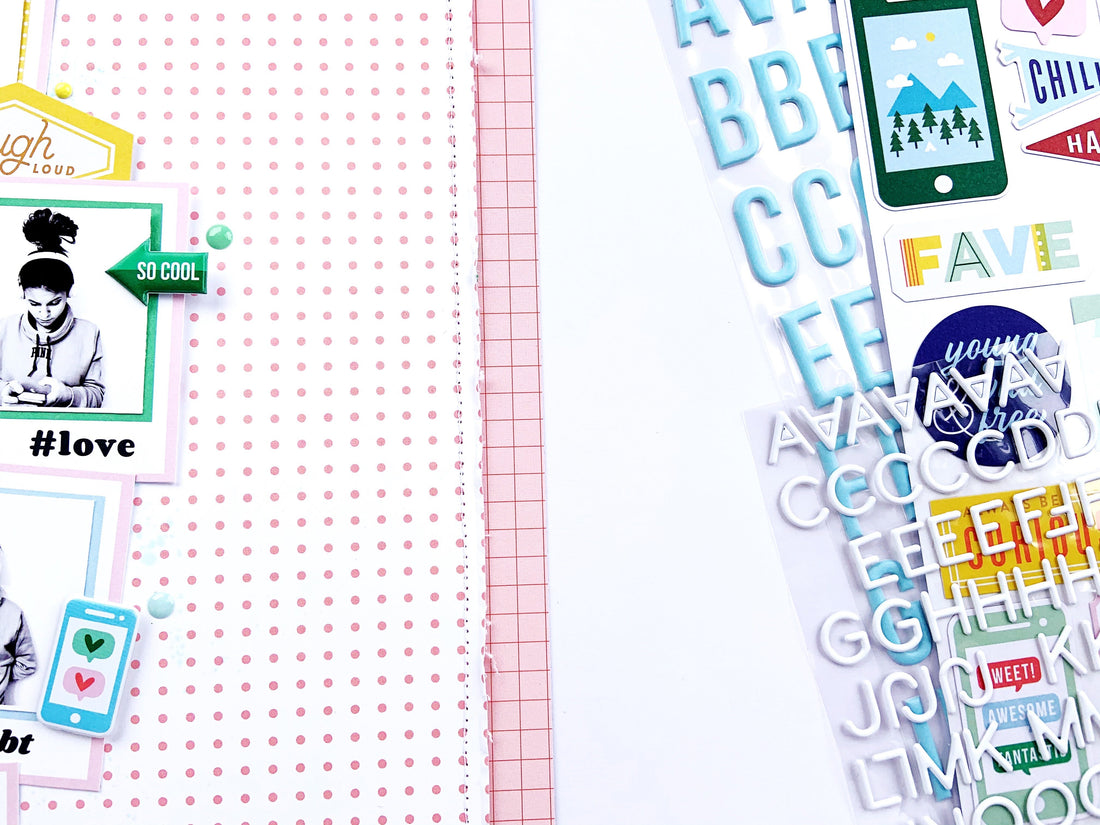
Hey friends! Erica here with you today to share some scrapbook inspiration using the a couple of the new collections! For my first layout I am using the awesome Super Cool collection. I think my favorite paper from this collection is Hashtag! There are so many options for this paper and today I want to share one of them! I decided to cut up some of the frames and create a vertical design with them.

I used the B side of the Choir paper as my base and I trimmed it down a little bit so I could mat it on the Highlight paper. I love that there are some hints of pink in this collection. The photos I am documenting are of my daughter Alyssa! She is always listening to music and even though I do not like all her music choices I do love that she really enjoys all kinds of music!

I arranged the frames I cut out down the center of the page. I trimmed down my photos so that they would fit nicely inside the frames. I did print them out in black and white so they pop on the page.

I added embellishments around each frame trying to keep the color of embellishment the same as the color of the frame. I used Super Cool puffy stickers, cardstock stickers and some of the enamel dots! Here is a look at my completed layout.

For my second layout I am using the beautiful Noteworthy collection! Now this layout is a little different from my normal style but I wanted to try something different and step out of my comfort zone.

I started with a bolder background paper which was a little hard for me but I like how it turned out! I usually stick with white backgrounds but I just fell in love with the Happy Thoughts yellow gingham paper.

I knew I wanted to use a cut file so I downloaded one of the freebie files you can find in our Facebook group. I backed the Love word and hearts with pattern papers from the collection. I

I wanted to add a little something to the background so I applied some white gesso where I knew my cut file would be. I pulled out the Pinkfresh Studio watercolors and applied some color to an acrylic block. I used a paint brush to add color to the background and also used some plastic packaging. Once my color was dry I adhered the cut file using some foam squares. I added some puffy stickers around the cut file and used a puffy floral peeking out of the letter V. I just love how the watercolor looks behind the cut file! My photo is of my husband and I trying to get a photo with our girl Alyssa but she covered her face with a blanket! We snapped the photo anyway and I love it! I embellished around my photo using die cuts and stickers from the Noteworthy collection. To finish off my layout I added some enamel dots from Noteworthy, my journaling and some stitching . Here is a look at my completed layout.

Thanks so much for stopping by today! I hope you are inspired and ready to create! Have a wonderful day!


