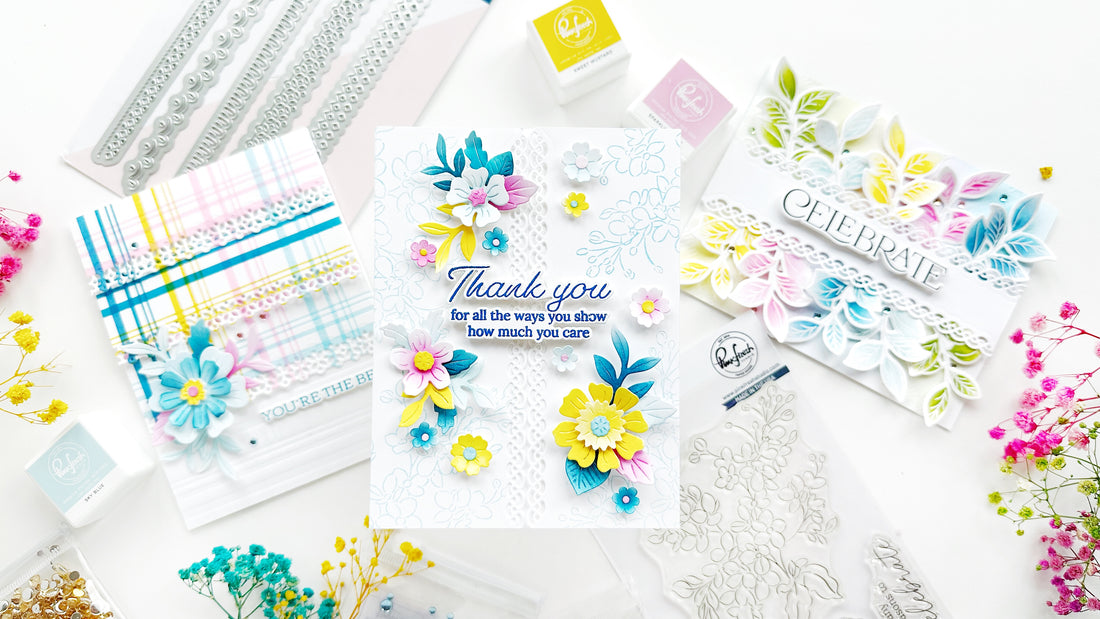
Fancy edgers ideas
Hello again Pinkfresh friends!
I'm back on the blog with some ideas and inspiration using the new Essentials Fancy Edgers dies. These dies may seem simple at first, but I'm telling you they're mighty! They create a delicate and subtle texture look that I believe add so much interest to your handmade designs.
For my first project I wanted to create a cascade of diecuts combining these beautiful edgers with the Plaid Press Plate pattern. The idea behind this first design is showing that you can use these super versatile dies in almost any card you create. It's such a simple and effective way to step up your designs!

I chose the same color palette for all the projects I'm sharing today: Sparkling rose, Raspberry Bliss, Sky Blue, Sweet Mustard and Paradise. I applied my mini ink pads onto the Plaid Press Plate and run it through my Platinum Six die cutting machine using a piece of Spellbinders Porcelain cotton cardstock.
Once I had my plaid panel ready I cut out three strips out of it . These strips are 4 1/4 inch wide by 1 1/4 inch long. I secured one of the Essentials Fancy Edgers dies onto one of these strips and run it through my die cutting machine.
I repited this process with the rest of the strips. Once I had all three panels cut out I adhered them onto an A2 panel I had previously dry embossed with the same Plaid Press Plate and foam mounted onto a side folding A2 cardbase.

Next up, I colored and die cut some flowers and leaves from the Garden Party stencil and die set and the Sweet Blossoms stencil and die set using the same colors I had used for my background.
I arranged this flower onto my plaid background and colored one of the sentiments from the Favorite Sentiments set using Paradise ink.

For my next project I used another die from the same Essentials Fancy Edgers dies set and run it twice through my die cutting machine to create these beautiful edges. For my sentiment I used the Here for you stamp yet and my 1 1/4 inch strip is perfect to display it. I decided to color some leaves from the Fluttering Butterflies stamp set. I white heat embossed these flowers with Hero Arts White Satin Pearl embossing powder and colored them with the coordinating stencils with the same colors I used on my previous project.

Before adhering all the elements onto my card I applied some ink on the front panel with a very light hand. I used the same color scheme of my leaves in order to achive a cohesive look. Next up I foam mounted these leaves underneath the front strip and adhered the sentiment on top. As a final touch I placed some clear drops: Sky blue, Champagne, Leaf and blush.
For my last project I created two flaps that meet in the middle and reveal the message when you open them:

I started this project cutting out two panels that meassured 2 3/4 by 5 1/2. Then I used my Fancy Edger die to create this beautiful edges on both panels and scored each one at 1/2 inch. I aplplied Sky Blue and Summer shower inks onto the Always Smiling prese plate and run my Betterpress tool through my die cutting machine. Then I adhered both flaps to the back of the front panel. The idea was to open the front flaps to write your personal message.

To finish off this card, I decorated my front panel with lots of flowers and leaves from the Garden Party, Sweet Blossoms and Stilized Floral sets using the same color palette of all my previous projects. The sentiment is from the Artsy Floral Stamp set stamped in Sapphire.
I hope these projects gave you some ideas to create using these beautiful Fancy Edgers dies.
Thank you so much for stopping by and happy crafting!
Raquel


