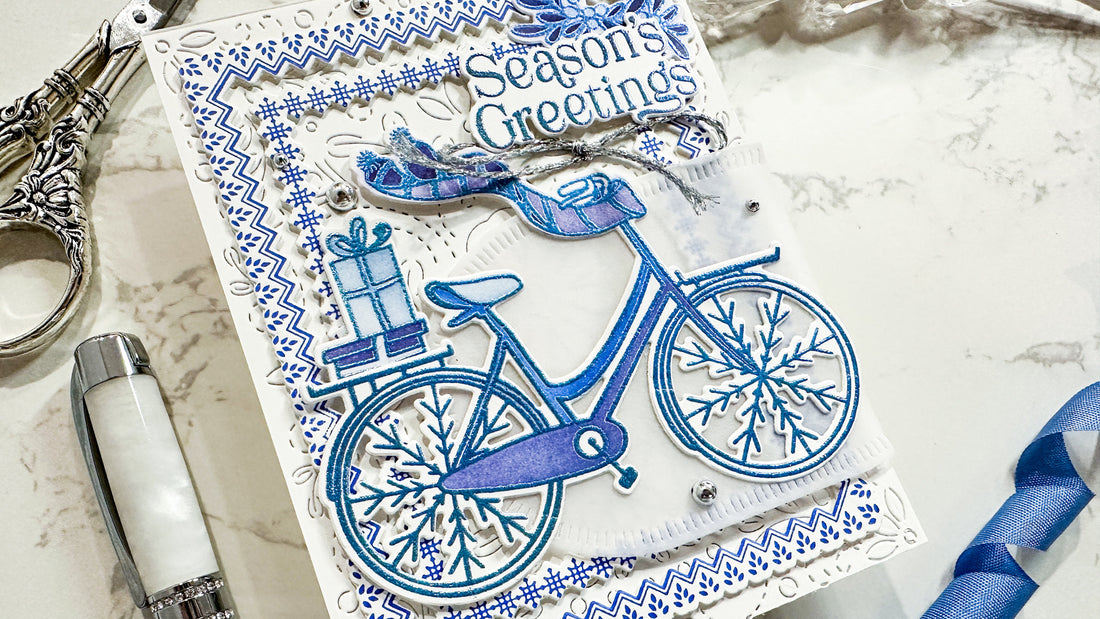
Chinoiserie Holiday with Emily!
30 Dec 2024
1 comment
Hi friends! Emily Midgett here with you today with some chinoiserie inspiration that also happens to work perfectly for Hanukkah, which started at sundown on 12/25. I absolutely love that blue and white chinoiserie is making a comeback in home decor, and I took advantage of the after-Christmas sales to purchase some new decor for a chinoiserie-themed tree! That color palette spilled over into my project for today, pairing the neutral "Season's Greetings" sentiment with the holiday-themed
Holiday Bicycle imagery. Let's get started on the details for my project!

I began by stamping the Holiday Bicycle stamps onto some white cardstock using
Sapphire ink, then stamping directly over the top with some sticky embossing ink and covering the images with iridescent blue embossing powder. The combination of the blue stamped image as the base with the translucent and iridescent embossing powder is absolutely magical! I used the coordinating stencils with
1/2" Blending Brushes and Sapphire, Blue Jay, and Slumber inks to add some details to the images, selectively avoiding some areas to go along with my blue and white color palette. I used the coordinating dies to die cut all of the images in one fell swoop-so convenient!

For the background, I did some super textured and detailed layering with the Decorative Frames Press Plate and coordinating dies. I used
Sapphire ink with the Decorative Frames Press Plate, using the trick that I learned from Carissa Wiley to letterpress onto regular cardstock (as opposed to letterpress cardstock). Quite simply: use some low-tack tape to adhere some scrap cardstock to the back of your regular cardstock, creating a thicker piece of cardstock upon which you can impress your Press Plate image, then run the entire thing through your Better Press machine as normal! It opens up a world of possibilities to be able to use more than just your letterpress cardstock! I used the coordinating dies to cut the frames out and layered two of them on a white Charming Stitched Florals Cover Plate die cut background using foam adhesive.

After I had created the background for my focal point, I die cut a vellum Blanket Stitch Elongated Ovals dies to help ground my bicycle and create a bit of a visual barrier between the focal point and the busy, super textured background. I used double layers of foam adhesive to adhere the bicycle and vellum, then added a neutral "Season's Greetings" sentiment to make the card work for lots of different holidays (but the blue and silver on this card makes it work perfectly for Hanukkah!). Finally, I added some Silver Pearl Drops for a bit of added shine and texture!
Well, that's all for my project today! I hope your holiday was lovely, filled with warmth, yummy treats, and lots of family time. Thanks so much for stopping by today, and have a marvelous day!


1 comment
This is so darn cute!!!!
I love Blu and white and you did a Gorgeous job!!